Hoofdstuk 51Tool
De contextgevoelige tab die meegaat met het gereedschap dat je vasthebt
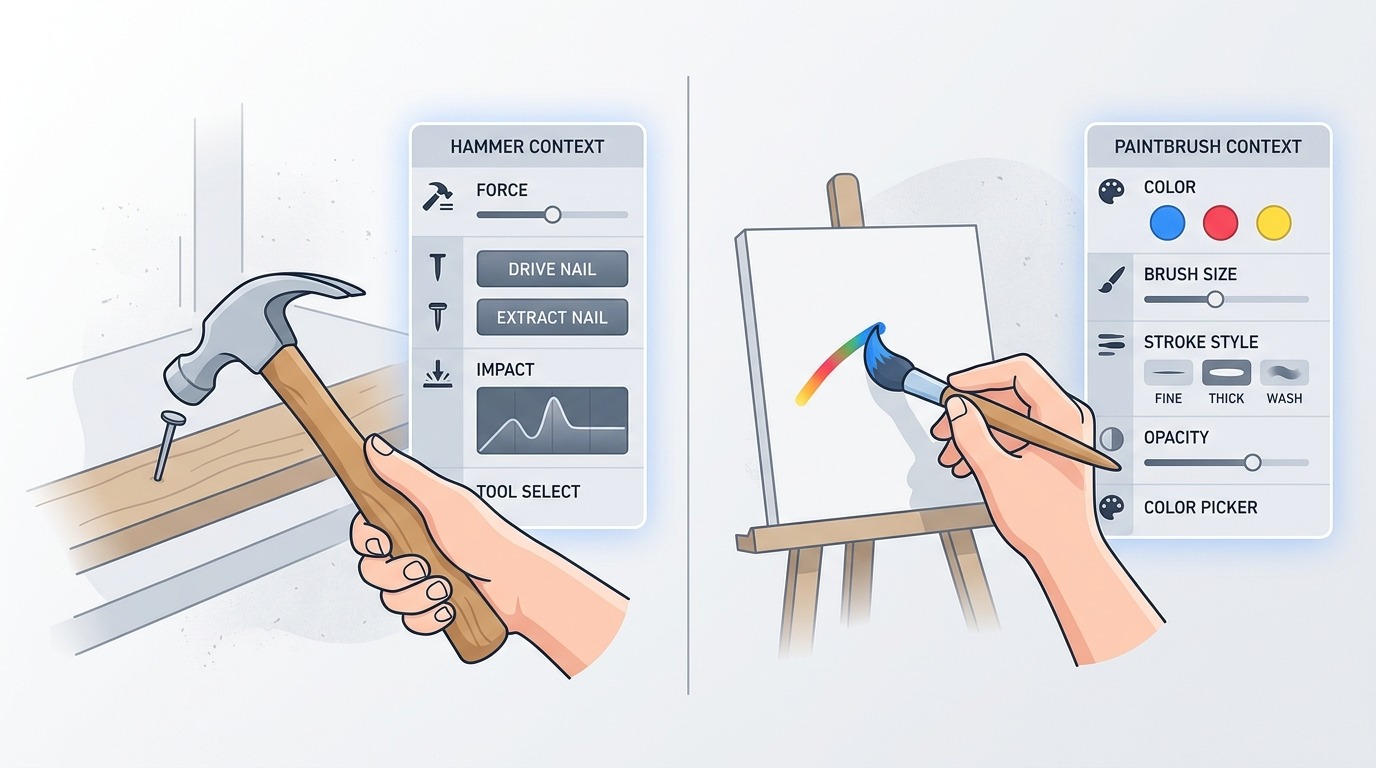
De Tool-tab (gereedschapstab) is de vreemde eend: ze toont geen vaste eigenschappen van een datablock, maar de opties van het actieve gereedschap in de toolbar — en dat verandert dus elke keer dat je een andere tool selecteert of van editor wisselt.
 RECCONCEPT00:00:00:00schoolium
Wat deze tab doet
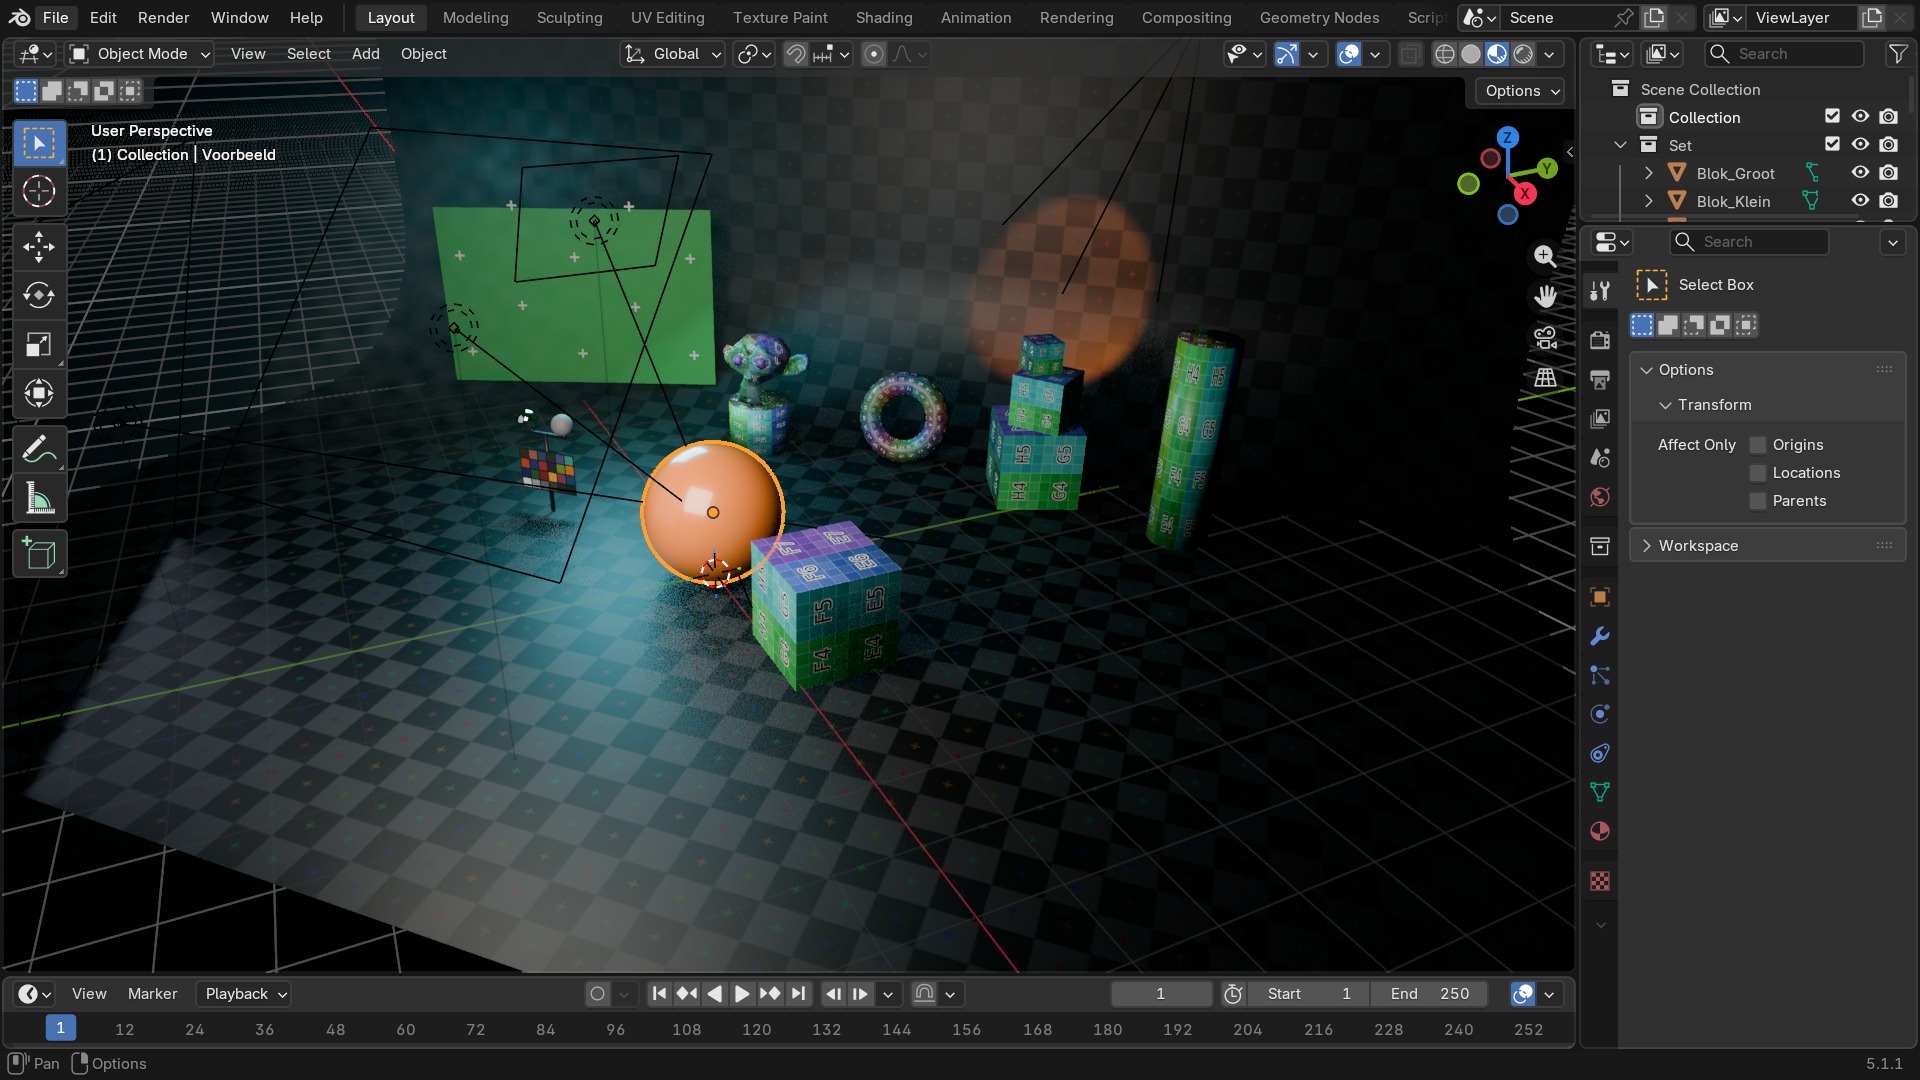
De Tool-tab (het schroefsleutel-icoon, helemaal bovenaan de Properties-editor) toont geen eigenschappen van een object of datablock, maar de instellingen van het actieve gereedschap — dezelfde tool die je links in de 3D Viewport-toolbar hebt aangeklikt. Kies je Bevel in de toolbar, dan verschijnen hier segment-aantal en profiel; kies je Knife, dan verschijnen daar de snap-opties van dat mes.
Daaronder staat een vast blok dat niet per tool verandert: Transform Orientations, Snapping en Proportional Editing. Dat zijn globale Tool Settings (gereedschapsinstellingen) die in bijna elke editor gelden, niet alleen in de 3D Viewport.
 RECBLENDER 5.1 · PROP-TOOL00:00:00:001920×1080
De tab in twee lagen
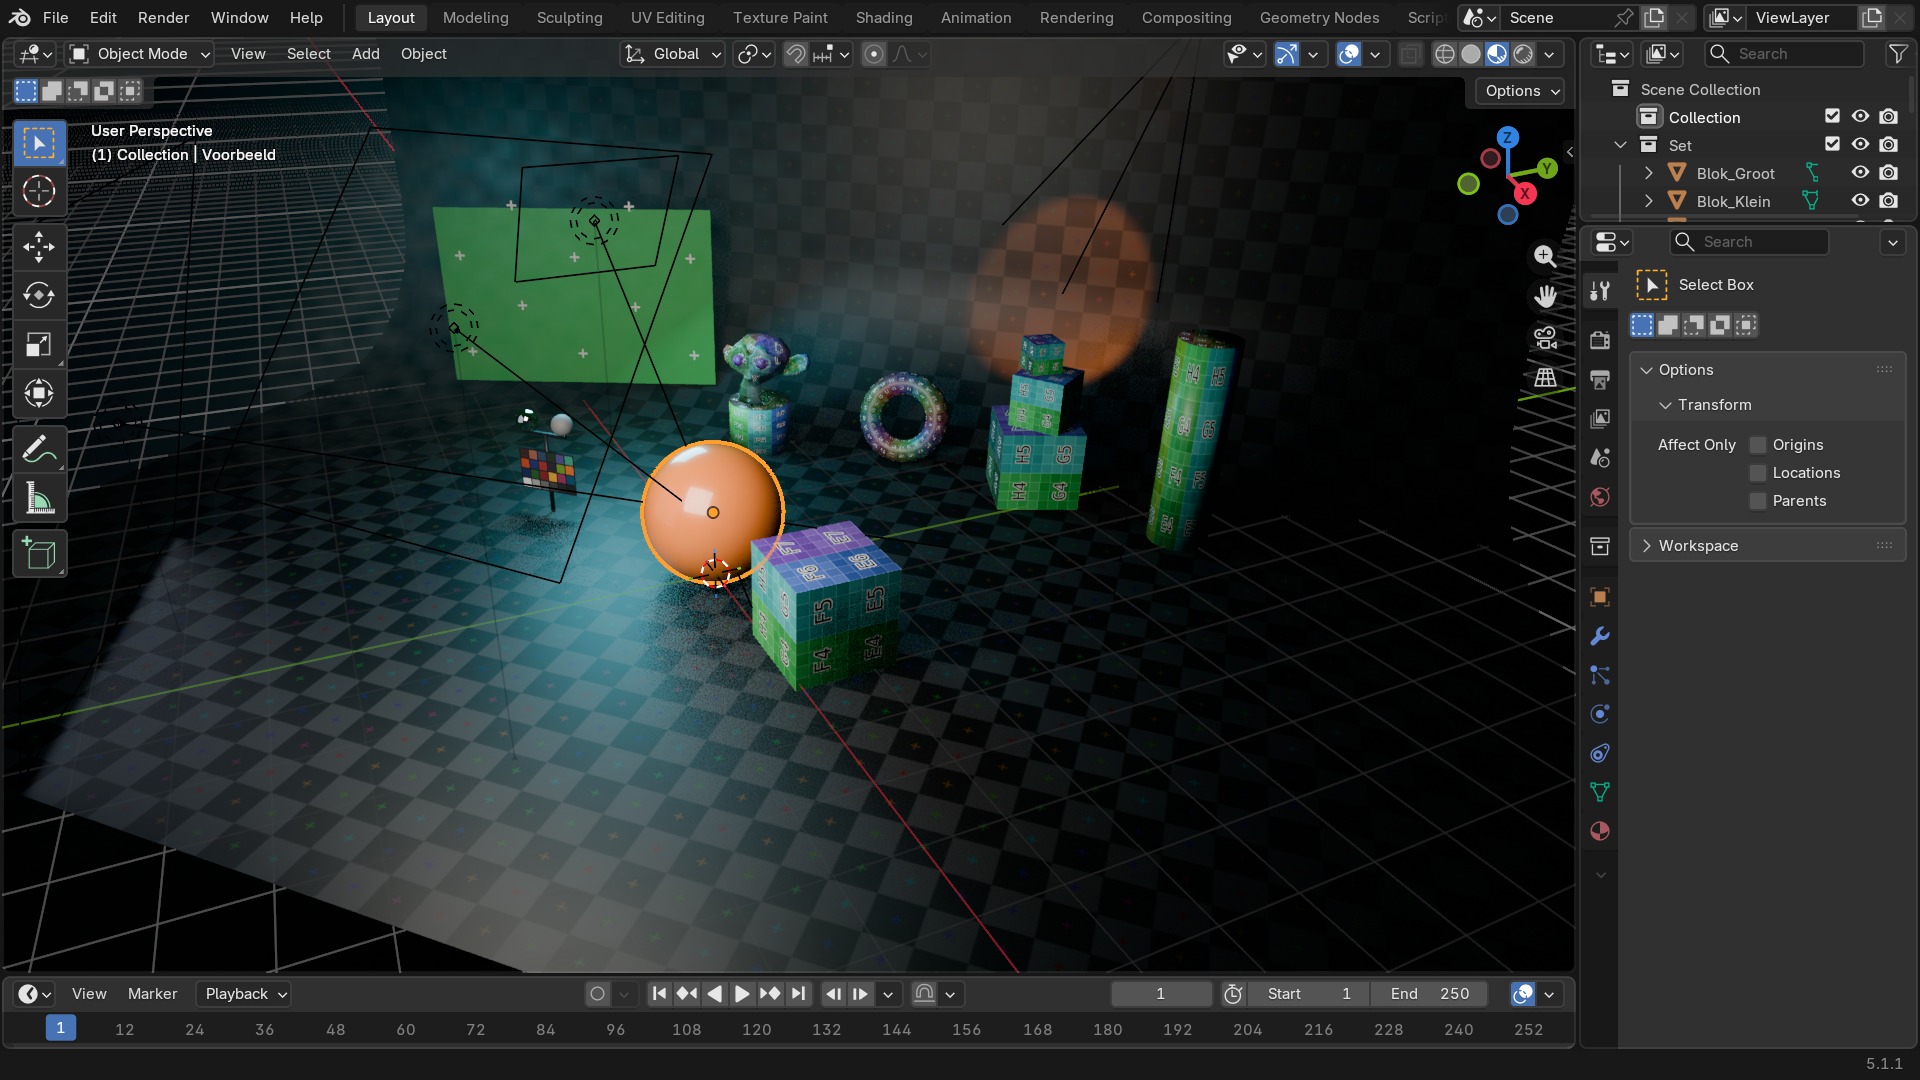
- 1Actieve-tool-paneel
Bovenaan, met de naam van de tool als kop — verschijnt en verdwijnt met je toolbar-keuze.
- 2Options
Kleine schakelaars die bij bijna elke tool terugkomen, zoals
Affect Only Origins. - 3Transform Orientations & Pivot Point
Dezelfde keuzes als in de header van de 3D Viewport, hier nog eens bij de hand — in dit screenshot zit dit nog in het ingeklapte paneel “Workspace” hieronder.
- 4Snapping & Proportional Editing
De volledige uitklapbare panelen; sneller te vinden dan via de kleine magneet- en cirkel-iconen in de header — ook dit staat in het ingeklapte paneel “Workspace”.
Tool Settings — het gedeelde fundament
Deze instellingen horen bij Scene.tool_settings en gelden voor meerdere editors tegelijk (3D Viewport, UV Editor, Grease Pencil, Sequencer). Dit is de volledige lijst, rechtstreeks uit Blender 5.1 uitgelezen.
| Instelling | Type | Standaard | Bereik | Wat hij doet (tooltip uit Blender) |
|---|---|---|---|---|
| Weight Paint Auto-Normalize | BOOLEAN | uit | – | Ensure all bone-deforming vertex groups add up to 1.0 while weight painting or assigning to vertices |
| Weight Paint Lock-Relative | BOOLEAN | uit | – | Display bone-deforming groups as if all locked deform groups were deleted, and the remaining ones were re-normalized |
| Weight Paint Multi-Paint | BOOLEAN | uit | – | Paint across the weights of all selected bones, maintaining their relative influence |
| Mask Non-Group Vertices | ENUM | ACTIVE | None, Active, All | Display unweighted vertices |
| Subset | ENUM | ALL | All, Deform, Other | Filter Vertex groups for Display |
| Lock Borders | BOOLEAN | uit | – | Disable editing of boundary edges |
| Sculpt All Islands | BOOLEAN | uit | – | Brush operates on all islands |
| Lock Object Modes | BOOLEAN | aan | – | Restrict selection to objects using the same mode as the active object, to prevent accidental mode switch when selecting |
| Drag | ENUM | FALLBACK | Active Tool, Select | Action when dragging in the viewport |
| Proportional Editing | BOOLEAN | uit | – | Proportional edit mode |
| Proportional Editing Objects | BOOLEAN | uit | – | Proportional editing object mode |
| Projected from View | BOOLEAN | uit | – | Proportional Editing using screen space locations |
| Connected Only | BOOLEAN | uit | – | Proportional Editing using connected geometry only |
| Proportional Editing Objects | BOOLEAN | uit | – | Proportional editing mask mode |
| Proportional Editing Actions | BOOLEAN | uit | – | Proportional editing in action editor |
| Proportional Editing F-Curves | BOOLEAN | uit | – | Proportional editing in F-Curve editor |
| Lock Markers | BOOLEAN | uit | – | Prevent marker editing |
| Proportional Editing Falloff | ENUM | SMOOTH | Smooth, Sphere, Root, Inverse Square, Sharp, Linear, Constant, Random | Falloff type for proportional editing mode |
| Proportional Size | FLOAT | 1 | 0.00001 – 5000 | Display size for proportional editing circle |
| Proportional Size | FLOAT | 1 | 0.00001 – 5000 | Display size for proportional editing circle |
| Merge Threshold | FLOAT | 0.001 | 0 – 0.1 | Threshold distance for Auto Merge |
| Transform Pivot Point | ENUM | MEDIAN_POINT | Bounding Box Center, 3D Cursor, Individual Origins, Median Point, Active Element | Pivot center for rotation/scaling |
| Only Locations | BOOLEAN | uit | – | Only transform object locations, without affecting rotation or scaling |
| Transform Origins | BOOLEAN | uit | – | Transform object origins, while leaving the shape in place |
| Transform Parents | BOOLEAN | uit | – | Transform the parents, leaving the children in place |
| Correct Face Attributes | BOOLEAN | uit | – | Correct data such as UVs and color attributes when transforming |
| Keep Connected | BOOLEAN | uit | – | During the Face Attributes correction, merge attributes connected to the same vertex |
| Auto Merge Vertices | BOOLEAN | uit | – | Automatically merge vertices moved to the same location |
| Split Edges & Faces | BOOLEAN | uit | – | Automatically split edges and faces |
| Snap | BOOLEAN | uit | – | Snap during transform |
| Snap | BOOLEAN | uit | – | Snap Node during transform |
| Use Snapping | BOOLEAN | aan | – | Snap strips during transform |
| Snap | BOOLEAN | uit | – | Snap UV during transform |
| Align Rotation to Target | BOOLEAN | uit | – | Align rotation with the snapping target |
| Absolute Increment Snap | BOOLEAN | uit | – | Absolute grid alignment while translating (based on the pivot center) |
| Rotation Increment | FLOAT | 0.087 | 0.0175 – 3.1416 | Angle used for rotation increments in 2D editors |
| Rotation Precision Increment | FLOAT | 0.017 | 0.0017 – 3.1416 | Precision angle used for rotation increments in 2D editors |
| Rotation Increment | FLOAT | 0.087 | 0.0175 – 3.1416 | Angle used for rotation increments in 3D editors |
| Rotation Precision Increment | FLOAT | 0.017 | 0.0017 – 3.1416 | Precision angle used for rotation increments in 3D editors |
| Snap Element | ENUM | Increment, Grid, Vertex, Edge, Face, Volume, Edge Center, Edge Perpendicular, Face Center, Face Project, Face Nearest | Type of element to snap to | |
| Snap Element | ENUM | Increment, Grid, Vertex, Edge, Face, Volume, Edge Center, Edge Perpendicular, Face Center | Type of element for the "Snap Base" to snap to | |
| Project Mode | ENUM | Face Project, Face Nearest | Type of element for individual transformed elements to snap to | |
| Face Nearest Steps | INT | 1 | 1 – 100 | Number of steps to break transformation into for face nearest snapping |
| Snap to Same Target | BOOLEAN | uit | – | Snap only to target that source was initially near ("Face Nearest" only) |
| Snap | BOOLEAN | aan | – | Enable snapping when transforming keyframes |
| Snap | BOOLEAN | uit | – | Enable snapping when transforming keys in the Driver Editor |
| Absolute Time Snap | BOOLEAN | uit | – | Absolute time alignment when transforming keyframes |
| Absolute Snap | BOOLEAN | uit | – | Snap to full values |
| Snap Animation Element | ENUM | FRAME | Frame, Second, Nearest Marker | Type of element to snap to |
| Use Snapping | BOOLEAN | uit | – | Snap playhead when scrubbing |
| Snap Playhead Element | ENUM | Frames, Seconds, Markers, Keyframes, Strips | Type of element to snap to | |
| Frame Step | INT | 2 | 1 – 32768 | At which interval to snap to frames |
| Second Step | INT | 1 | 1 – 32768 | At which interval to snap to seconds |
| Snap Distance | INT | 20 | 1 – 100 | Maximum distance for snapping in pixels |
| Snap UV Element | ENUM | Increment, Grid, Vertex | Type of element to snap to | |
| Snap Target | ENUM | CLOSEST | Closest, Center, Median, Active | Which part to snap onto the target |
| Snap Peel Object | BOOLEAN | uit | – | Consider objects as whole when finding volume center |
| Backface Culling | BOOLEAN | uit | – | Exclude back facing geometry from snapping |
| Snap onto Active | BOOLEAN | aan | – | Snap onto itself only if enabled (edit mode only) |
| Snap onto Edited | BOOLEAN | aan | – | Snap onto non-active objects in edit mode (edit mode only) |
| Snap onto Non-edited | BOOLEAN | aan | – | Snap onto objects not in edit mode (edit mode only) |
| Snap onto Selectable Only | BOOLEAN | uit | – | Snap only onto objects that are selectable |
| Use Snap for Translation | BOOLEAN | aan | – | Move is affected by snapping settings |
| Use Snap for Rotation | BOOLEAN | uit | – | Rotate is affected by the snapping settings |
| Use Snap for Scale | BOOLEAN | uit | – | Scale is affected by snapping settings |
| Plane Axis | ENUM | Z | X, Y, Z | The axis used for placing the base region |
| Auto Axis | BOOLEAN | aan | – | Select the closest axis when placing objects (surface overrides) |
| Position | ENUM | SURFACE | Surface, Cursor Plane, Cursor View | The initial depth used when placing the cursor |
| Orientation | ENUM | SURFACE | Surface, Default | The initial depth used when placing the cursor |
| Snap to | ENUM | GEOMETRY | Geometry, Default | The target to use while snapping |
| Use Additive Drawing | BOOLEAN | uit | – | When creating new frames, the strokes from the previous/active frame are included as the basis for the new one |
| Draw Strokes on Back | BOOLEAN | uit | – | New strokes are drawn below of all strokes in the layer |
| Compact List | BOOLEAN | aan | – | Show compact list of colors instead of thumbnails |
| Add weight data for new strokes | BOOLEAN | uit | – | Weight data for new strokes is added according to the current vertex group and weight. If no vertex group selected, weight is not added. |
| Automerge | BOOLEAN | uit | – | Join the last drawn stroke with previous strokes in the active layer by distance |
| Stroke Placement (3D View) | ENUM | ORIGIN | Origin, 3D Cursor, Surface, Stroke | |
| Stroke Snap | ENUM | NONE | All Points, End Points, First Point | |
| Surface Offset | FLOAT | 0.15 | 0 – 1 | Offset along the normal when drawing on surfaces |
| Project Onto Selected | BOOLEAN | uit | – | Project the strokes only onto selected objects |
| Select Mode | ENUM | POINT | Point, Stroke, Segment | |
| Selection Mask | BOOLEAN | uit | – | Only sculpt selected stroke points |
| Selection Mask | BOOLEAN | uit | – | Only sculpt selected strokes |
| Selection Mask | BOOLEAN | uit | – | Only sculpt selected stroke points between other strokes |
| Selection Mask | BOOLEAN | uit | – | Only paint selected stroke points |
| Selection Mask | BOOLEAN | uit | – | Only paint selected strokes |
| Selection Mask | BOOLEAN | uit | – | Only paint selected stroke points between other strokes |
| Multi-frame Editing | BOOLEAN | uit | – | Enable multi-frame editing |
| Stroke Placement (2D View) | ENUM | IMAGE | Image, View | |
| Annotation Stroke Placement (3D View) | ENUM | CURSOR | 3D Cursor, View, Surface | How annotation strokes are orientated in 3D space |
| Only Endpoints | BOOLEAN | uit | – | Only use the first and last parts of the stroke for snapping |
| Project Onto Selected | BOOLEAN | uit | – | Project the strokes only onto selected objects |
| Annotation Stroke Thickness | INT | 3 | 1 – 10 | Thickness of annotation strokes |
| Auto Keying | BOOLEAN | aan | – | Automatically insert keyframes on modified properties |
| Auto-Keying Mode | ENUM | ADD_REPLACE_KEYS | Add & Replace, Replace | Can add additional constraints on when auto keying can insert keyframes |
| Layered | BOOLEAN | uit | – | Add a new NLA Track + Strip for every loop/pass made over the animation to allow non-destructive tweaking |
| Auto Keyframe Insert Keying Set | BOOLEAN | uit | – | Automatic keyframe insertion using active Keying Set only |
| Cycle-Aware Keying | BOOLEAN | uit | – | For channels with cyclic extrapolation, keyframe insertion is automatically remapped inside the cycle time range, and keeps ends in sync. Curves newly added to actions with a Manual Frame Range and Cyclic Animation are automatically made cyclic. |
| New Keyframe Type | ENUM | KEYFRAME | Keyframe, Breakdown, Moving Hold, Extreme, Jitter, Generated | Type of keyframes to create when inserting keyframes |
| Mirror Bone | STRING | – | – | Bone to use for the mirroring |
| Use Location for Camera Fix | BOOLEAN | aan | – | Create location keys when fixing to the scene camera |
| Use Rotation for Camera Fix | BOOLEAN | aan | – | Create rotation keys when fixing to the scene camera |
| Use Scale for Camera Fix | BOOLEAN | aan | – | Create scale keys when fixing to the scene camera |
| UV Selection Mode | ENUM | VERTEX | Vertex, Edge, Face | UV selection and display mode |
| Sticky Selection Mode | ENUM | SHARED_LOCATION | Disabled, Shared Location, Shared Vertex | Method for extending UV vertex selection |
| UV Sync Selection | BOOLEAN | aan | – | Keep UV and edit mode mesh selection in sync |
| UV Island Selection | BOOLEAN | uit | – | Island selection |
| UV Local View | BOOLEAN | uit | – | Display only faces with the currently displayed image assigned |
| UV Custom Region | BOOLEAN | uit | – | Custom defined region |
| Mesh Selection Mode | BOOLEAN | uit | – | Which mesh elements selection works on |
| Vertex Group Weight | FLOAT | 1 | 0 – 1 | Weight to assign in vertex groups |
| Live Unwrap | BOOLEAN | uit | – | Changing edge seams recalculates UV unwrap |
| Normal Vector | FLOAT | 0 | -10000 – 10000 | Normal vector used to copy, add or multiply |
Snapping ontleed
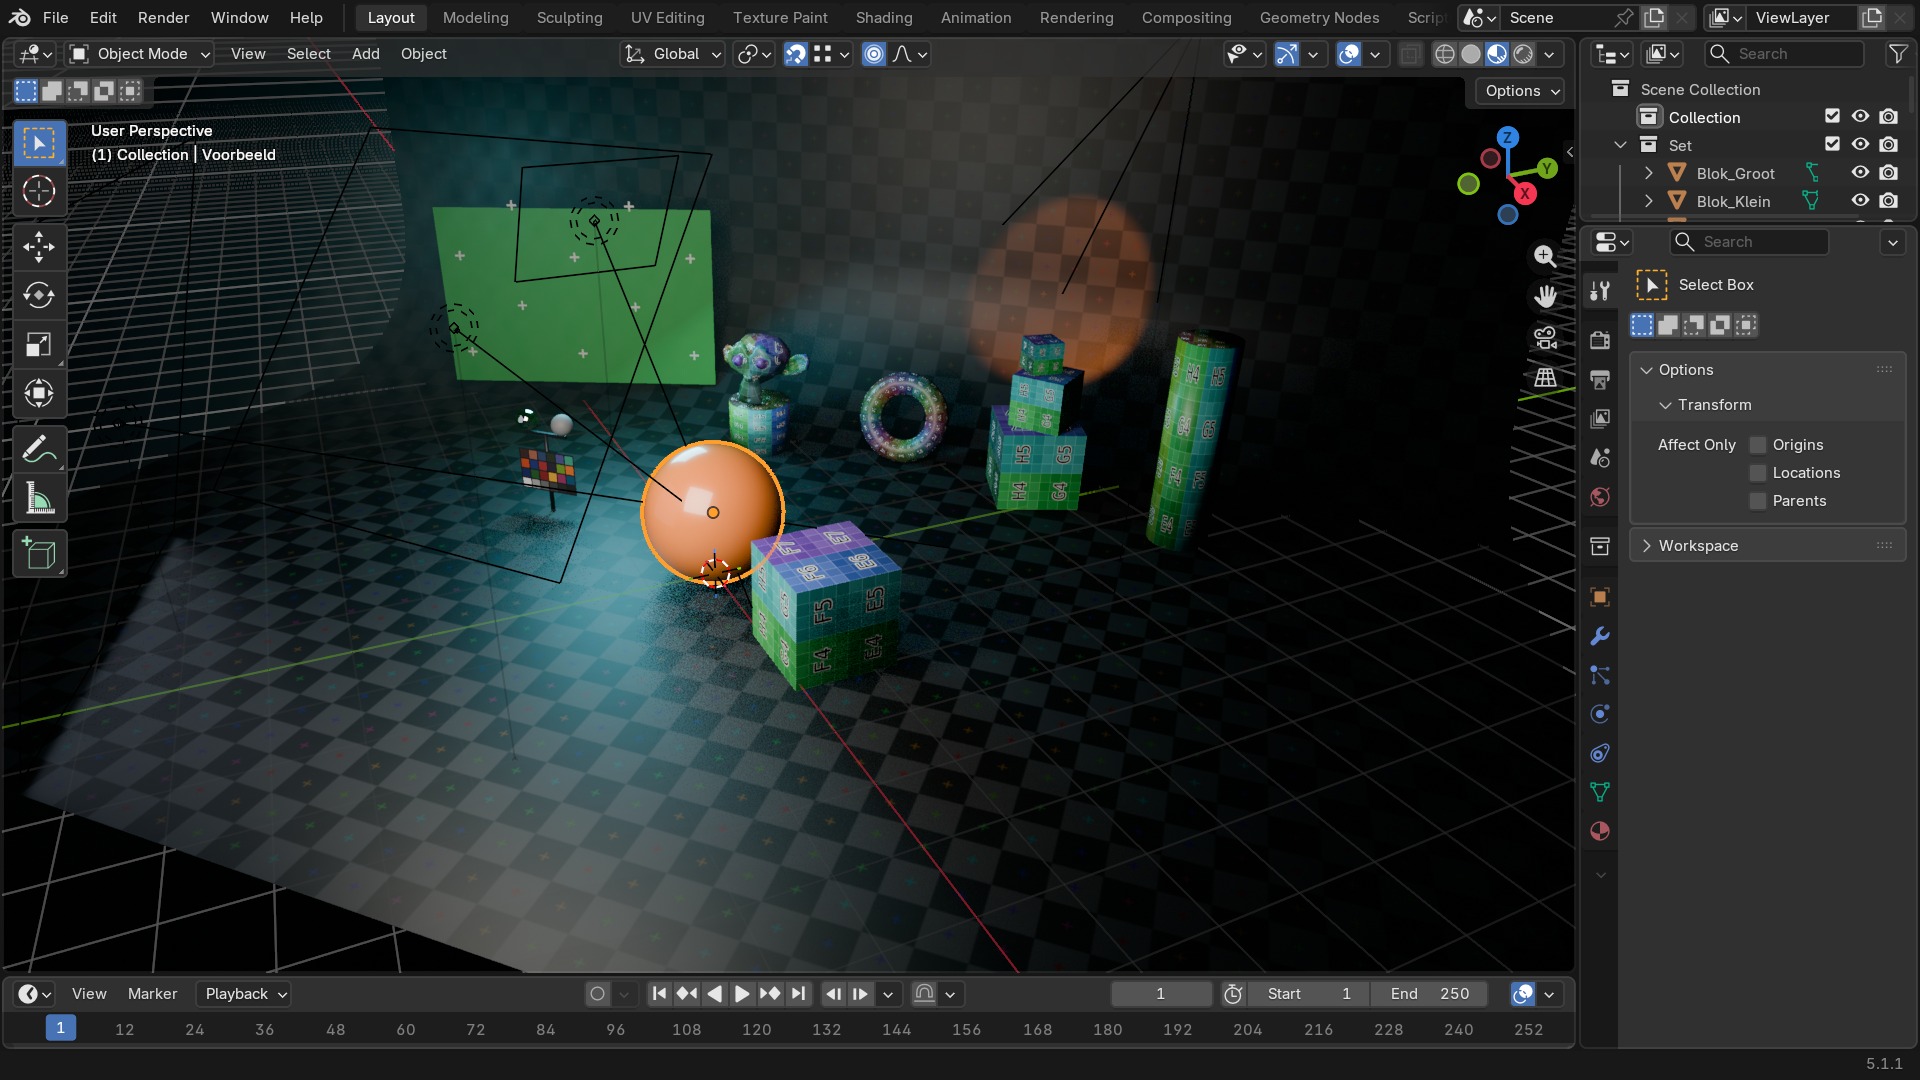
- 1Snap-schakelaar
Het magneetje zelf, aan/uit met Shift+Tab — zonder dit aan te zetten doet de rest van het paneel niets.
- 2Snap To
Waarnaar gesnapt wordt: Vertex, Edge, Face, Volume, Grid of Increment — het pijltje meteen rechts van het magneetje opent dit rijtje.
- 3Snap Base
Vanaf welk punt van je eigen object gesnapt wordt: pivot, middelpunt of het dichtstbijzijnde punt — in hetzelfde uitklappaneel.
- 4Align Rotation to Target
Laat het object mee kantelen met de normal van het oppervlak waarop gesnapt wordt — ook hier, verder naar onder in hetzelfde paneel.
- 5Affect
Op welke transformaties het snappen van toepassing is: Move, Rotate, Scale, elk apart aan te zetten — onderaan hetzelfde uitklappaneel.
Proportional Editing: een zachte bel rond je selectie
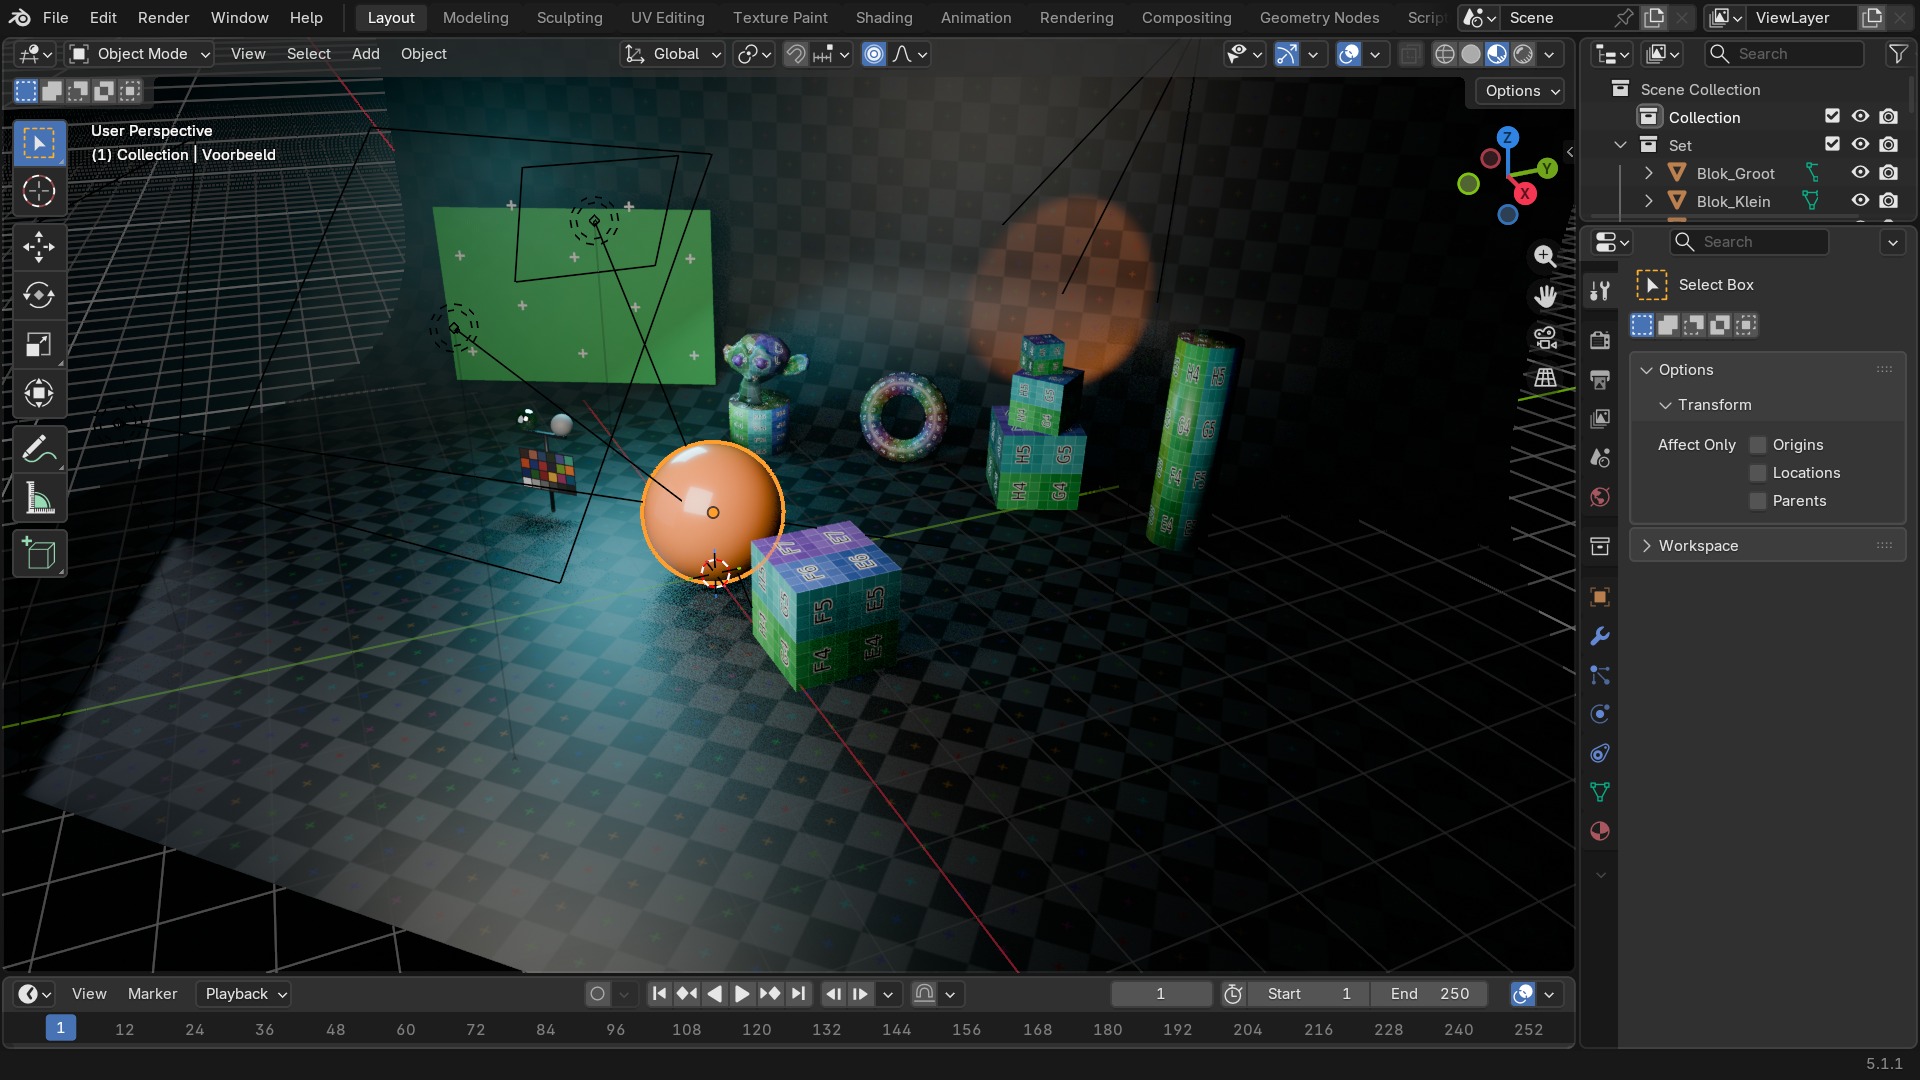
Proportional Editing (proportioneel bewerken, de O-toets) laat een transformatie uitdeinen naar niet-geselecteerde punten in een bol rond je selectie, met een Falloff-curve (Smooth, Sphere, Linear, Sharp, ...) die bepaalt hoe die invloed afneemt. De Proportional Size regel je live met het scrollwiel tijdens de transformatie, niet vooraf in dit paneel.
Drie schakelaars die je in de praktijk echt gebruikt: Connected Only (de bel volgt alleen verbonden geometrie, springt niet over een los eiland), Projected (2D) (de afstand wordt in schermruimte gemeten, handig bij symmetrisch werk op afstand van de camera) en de bel zelf uit zetten zodra je 'm niet meer nodig hebt — een vergeten actieve proportional bel is een klassieke bron van een mesh dat er ineens raar uitziet na een simpele G.
 RECBLENDER 5.1 · TOOL-PROPORTIONAL00:00:00:001920×1080
Waarom deze tab makkelijk over het hoofd wordt gezien
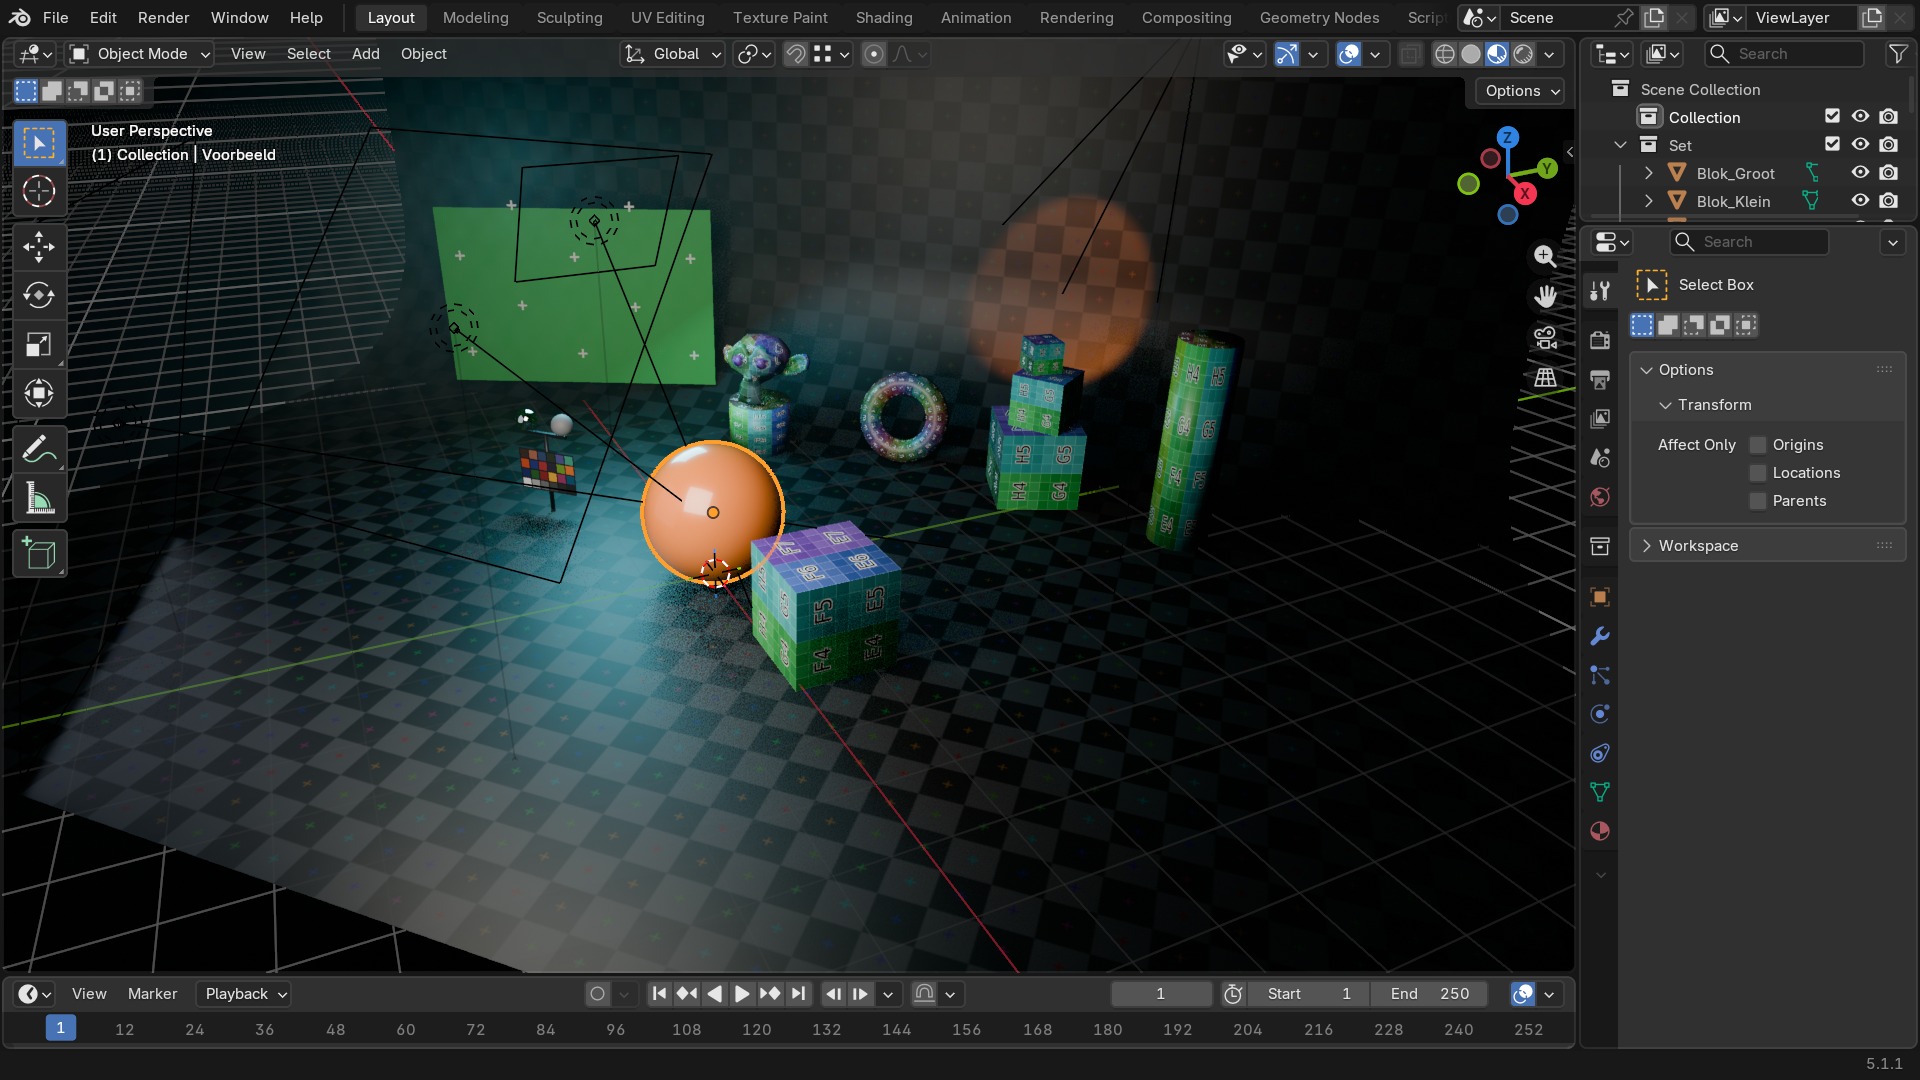
Omdat de meeste tools ook eigen sneltoetsen en een Adjust Last Operation-paneel (F9) hebben, negeren veel gebruikers de Tool-tab volledig. Ze is wél de plek waar je een tool voor de volgende keer instelt: verander je in de tab het aantal Bevel-segmenten, dan onthoudt Blender die waarde de volgende keer dat je de tool oppakt — F9 daarentegen geldt alleen voor de operatie die je net hebt gedaan.
Voor terugkerend werk (bv. altijd met 3 bevel-segmenten en een hoek-limiet werken) is de Tool-tab dus de plek om je standaardinstelling vast te zetten, niet F9.
 RECBLENDER 5.1 · TOOL-VS-F900:00:00:001920×1080
Zelf proberen: van Move naar Bevel naar Knife
Wissel drie keer van tool in de 3D Viewport-toolbar en kijk telkens wat er in de Tool-tab verschijnt en verdwijnt, terwijl het onderste blok (Snapping, Proportional Editing) blijft staan.
- 1Open
blends/start_tool_tab.blenden ga naar Edit Mode op de kubus. - 2Kies
Movein de toolbar, open de Tool-tab: geen tool-specifiek paneel bovenaan. - 3Kies
Bevel: er verschijnt een paneel metWidth,Segments,Profile. - 4Kies
Knife: dat paneel verandert weer, nu met snap-opties voor het mes. - 5Zet onderaan
Snappingaan met Snap To Face, en zie dat die instelling bij elke tool blijft staan.